
Hello Everyone,
In this blog, I’ll show you how you can easily installation SharePoint 2010 on Windows Server 2008. Before going ahead, Kindly verify few things on your machine
1. You have done installation of Microsoft SQL Server 2008/2012 R2 on your Machine.
2. You have done installed and configured Active Directory Domain Server on your Machine.
3. Create SQL Server and SharePoint users that can be used at the time of installation. click here to get more details on SharePoint and SQL groups and users.
| Account | Permissions | Description |
| sp_Setup |
|
|
| sp_Farm |
|
|
| sp_PortalAppPool |
|
|
| sp_ServiceAppPool |
|
|
| sp_MySitesAppPool |
|
|
| sp_UserProfileSync |
|
|
| sp_Search |
|
|
| sp_SearchCrawl |
|
|
| sp_FastUser |
|
|
4. Create and configured sp_UserProfileSync user to synchronize SharePoint users profile with Active Directory.
5. Check for Windows update and Install all the required patches.
6. Make sure that internet is working properly on your machine, because here you are not offline version of SharePoint. You have to install all the prerequisites from internet at the time of installation.
If you have done with all the four point that are mentioned above you are good to go for installation process/Steps
Here are the steps that you need to follow
1. Go to your directory there you have SharePoint Installation files
2. Right Click on PrerequisiteInstaller and execute as run as Administrator, your prerequisite tool will be installed all the Pre-requisite software for you.
3. Once, your prerequisite completes, you will be notified with Installation Complete splash screen. Click on Finish button to exit the Splash screen
4. Now, Go back to your SharePoint Installation folder and right click on Setup.exe file and execute with Run as administrator permissions
5. Splash screen will be popped up and will start preparation of necessary files
6. Once, Set up is completed for necessary files. You will get Microsoft Software License Terms Splash screen, Read the terms carefully and Select the Check box of “I accept the terms of this agreement”.
And Click on Continue button

7. Click on the Server Farm installation Type

8. Select the Complete radio button, and Click on Install Now button

9. Now, Installation process will be started.


10. Select the Run the SharePoint Products Configuration Wizard now check box and Click on Close button on Run Configuration Wizard screen

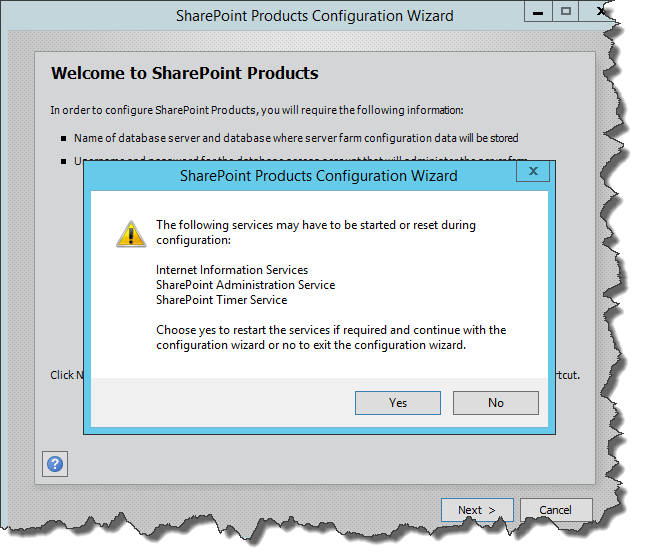
11. Now, Welcome to SharePoint Products screen appears. Click on Next button

12. Click on Yes button on SharePoint Products Configuration Wizard.
13. Select the Create a new server farm radio button on Connect to a server farm screen, and Click on Next button
14. In next screen, you have to provide the Passphrase input for Farm security. Enter the Passphrash and Click on Next button

15. Select the Specify port number check box and enter any port number. Range should be in between 1 to 65535 and Select NTML as Authentication provider on Configure SharePoint Central Administration Web Application Screen
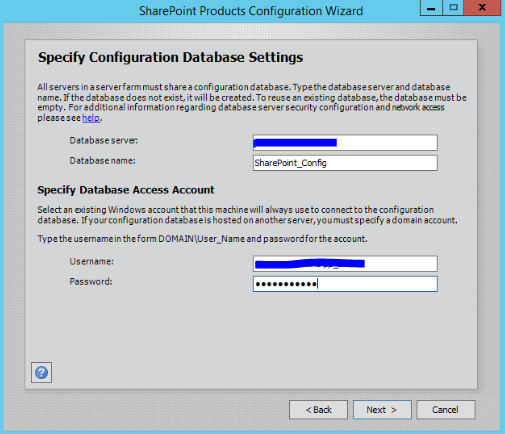
16. At the completion of SharePoint Products Configuration Wizard, Verify all the values in configuration settings boxes and Click on Next Button

17. your SharePoint products will be configured. 
18. Now, you should be able to see your adminConfigintro.aspx page in your default browser. you need to provide your admin credentials in pop up screen.

19. Once, you logged-in in SharePoint AdminConfigintro page. you will be navigated to Microsoft Customer Improvement program page. Select the radio button based on your choice. I selected Yes Button

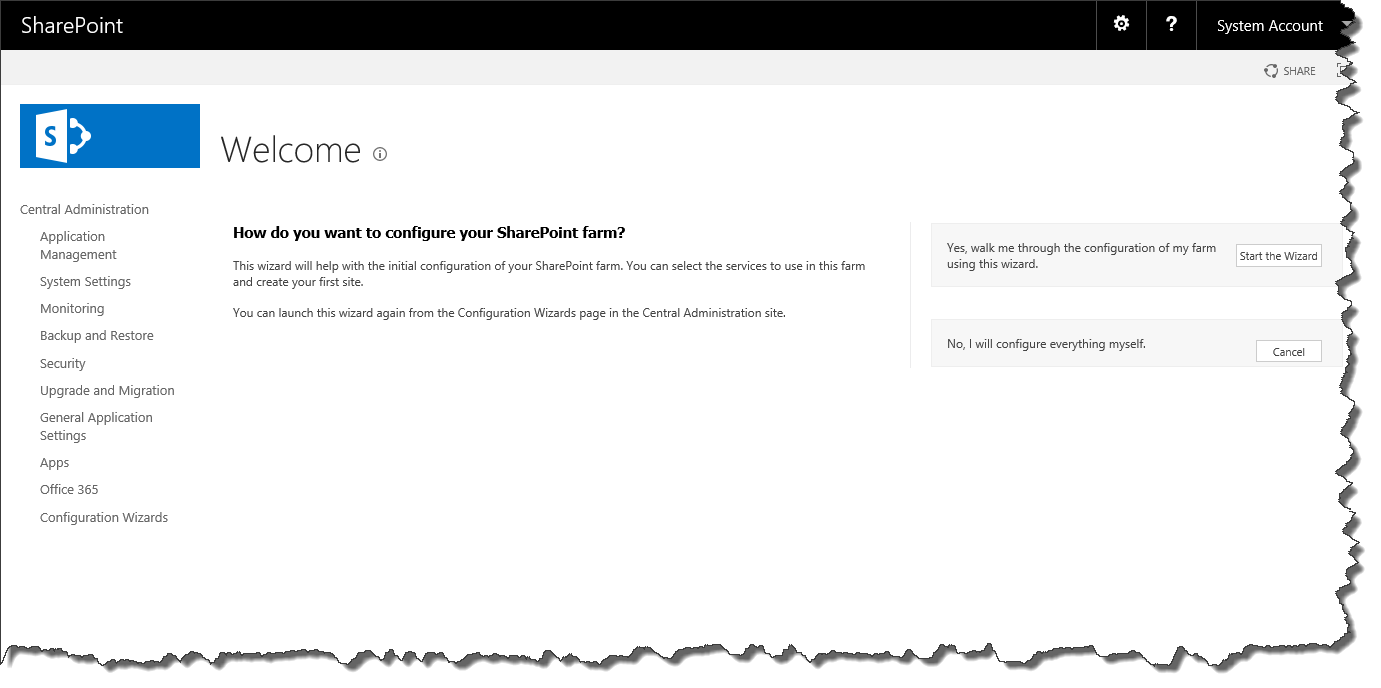
20. Now, you will get screen to configure your SharePoint Farm. Click on Start the Wizard button.

21. if you want to configure new managed account. you have to provide a valid user name in Service Account section on the screen
23. Click on Next button.

24. Once, processing is completed. Your user will be added for Managed Account permission/group. 25. Now, Create a Default SharePoint Site for users.
26. Provide a SP site name of your choice. and click on Next button

27. Once, the site creation is done. You should be navigated to Complete Configuration Wizard. Click on Finish button to complete the configuration process.

28. Now, you would be more happier to see your Central Administrator page 🙂

I hope this will be helpful to all.
Thank you.. Enjoy !! 🙂
Regards,
Dharmendra Singh (MCPD-EA | MCTS)
