
In this blog, I’ll walk you step by step through the installation of SharePoint 2013 on Windows Server 2012 R2. Before going ahead in detail, Let’s quickly check out the Hardware and Software requirements for SharePoint 2013 installation. You can click here to understand the complete System requirements for this installation.
Based on my Installation experience with SharePoint 2013, I am dividing the complete installation process into five parts, and will write all the parts in following sequence. You should be able to access any part directly from any of the blogs as the relevant links are provided so you can browse the Installation steps.
SharePoint 2013 Installation Series:
- Part 1 – Step by step Installation of Windows Server 2012 R2
- Part 2 – Step by step installation of Active Directory Domain Services in Windows Server 2012 R2
- Part 3 – Step by step installation of Microsoft SQL Server 2012 R2 on Windows Server 2012 R2
- Part 4 – Install and troubleshoot Online/Offline prerequisites issues for SharePoint 2013
- Part 5 – Step by step installation of SharePoint 2013 with Sql Server 2012 on Windows Server 2012 R2
Note : If you wish to see how to install SharePoint 2016 then please check my other blog series here: step by step guide to installing SharePoint 2016.
Steps:
In part 1, I’ll show you how to install Windows Server 2012 R2. You can download the Evaluation version of Windows Server 2012 from the URL below
http://technet.microsoft.com/en-in/evalcenter/dn205286.aspx
First get Windows Server 2012 R2 downloaded on to your local machine then unzip the ISO file into a folder to see the installation files.
Please follow the below mentioned steps to Install Windows Server 2012 R2 on your Machine.
1. Right click on Setup file and execute as the administrator
![]()

2. You will be asked to set the language, time and currency format and input method preference for your installation. Select the English default one and Click on Next button to continue.

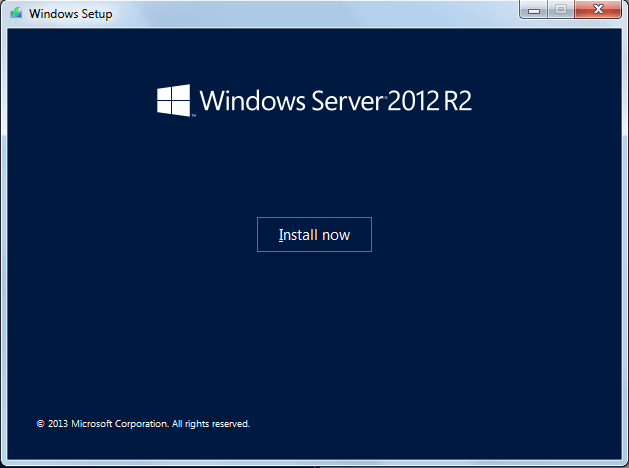
3. Windows Setup screen appears, Click on Install Now button
4. Based on your installation Type, you will be asked to provide the Product Key to Activate Windows. Enter a valid product key and press Next button

5. Based on your Windows Server 2012 R2 installation files, you will be asked to select a Installation Type which you want to Install on your Machine. Select the x64 edition and press Next button

6. From the following screen, read the License terms, check the box to accept them and Press Next Button

7. Following screen gives you option to choose the Installation Type which you want for your Windows Server 2012 R2. Select Custom: Install Windows only (Advanced) option on screen.

8. In this screen, you will be asked to configure the drive in your Hard disc where you would like to install Windows Server 2012 R2. Select the default configuration so some system space will be reserved to Windows File and remaining space can be for other usages. Click on Next button to Continue

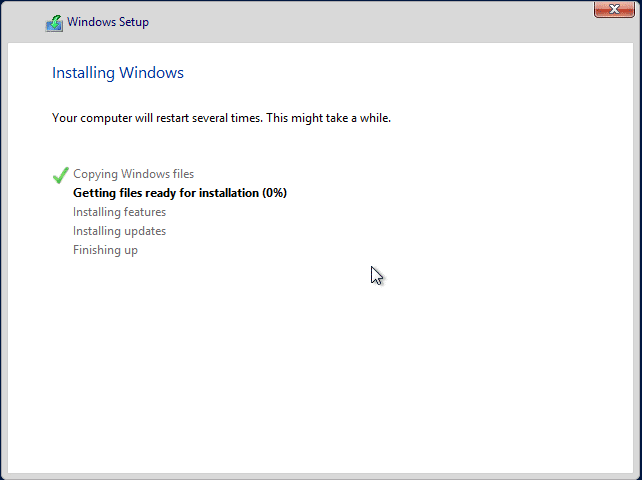
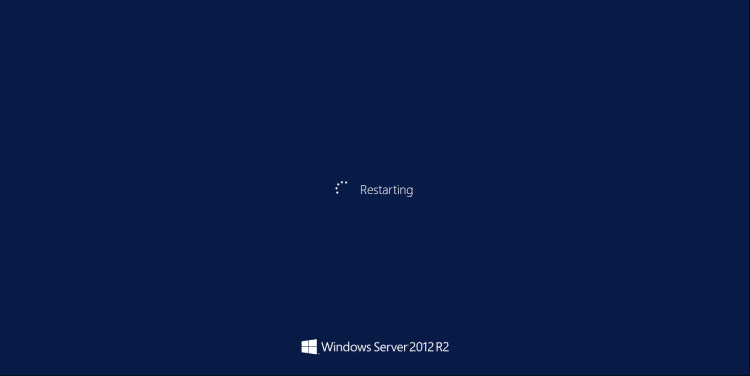
9. Now, your installation will be installed. It takes several minutes and once it done. Your machine will be restarted.
10. Now, you have done with your Windows Server 2012 R2 installation. You should be able to see the Dashboard of the Server.

11. Click on Local Server from the left panel of the screen, you should be able to see the Computer properties in the right panel of the screen.

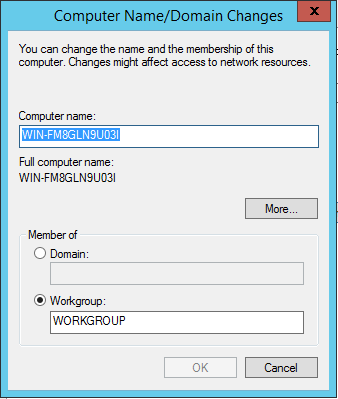
12. Click on Compute Name field to change the Server Name. The System Properties dialog box appears and you should be at Computer Name tab of the screen. Click on the Change button
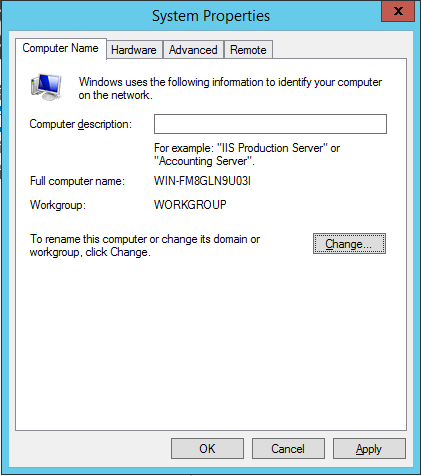
13. In Computer Name/Domain Changes dialog box, Enter the Computer Name of your choice or preference and Click on the Ok Button
14. Now, you need to restart your System.

Once, you are logged in again you can disable the Enhance Security Configuration and Firewall on the server. Also, you have to run the Windows Update every time before any configuration or installation on Windows Server 2012 R2 is attempted.
In my next blog, I will show how to configure the Domain Service Controller and Create groups and users in Windows Server 2012 R2.
