
SharePoint Workflows streamline common project management tasks by automating the movement of documents or items through a sequence of actions that relate to your business process.
These sequences can cater for project approval, document review, and many more processes, reducing the time spent on administrative tasks by your team.
Workflows support existing human work processes by extending the ways people collaborate and work with documents. For example, you could set up automatic notifications when a document is uploaded or standardize the process for collecting feedback. By leveraging workflows, you can attach business logic to documents in your SharePoint library.
Of course, automated workflows are not unique to SharePoint but the tight integration with SharePoint and Microsoft Office enables project managers to combine and extend their existing, familiar tools.
Workflows offer enormous potential to project teams but can be overwhelming to those just starting out. Let’s take a look at a simple SharePoint workflow for document approval that doesn’t require any coding skills.
Out-of-the-box SharePoint Collect Feedback Workflow
This simple workflow allows you to route a document or item to designated people for feedback. The Collect Feedback workflow consolidates all of the feedback from participants for the workflow owner and provides a record of the review process.
We created this workflow in a BrightWork project management template so the screenshots may look different to your SharePoint environment. BrightWork templates are pre-configured with project management best-practice features. Like everything on SharePoint, BrightWork templates can be further extended and configured to match your business needs.
Within the document library of your project site, open the ribbon and on the far right of the Library section, click on Add a Workflow under Workflow Settings.

For this example, we’re going to use the Collect Feedback option but you could use any of the other workflows available. Give your workflow a unique name (we chose Collect Feedback) and select the task and history lists. We left them on the default Workflow Tasks and Workflow History.
With the options at the bottom of this page, you can start your workflow manually but you can also set it so that creating a new item will start this workflow by ticking the appropriate box.
After clicking Next, you are presented with the pre-set form that’s already built into the workflow. This can be pre-populated or left blank as it is.
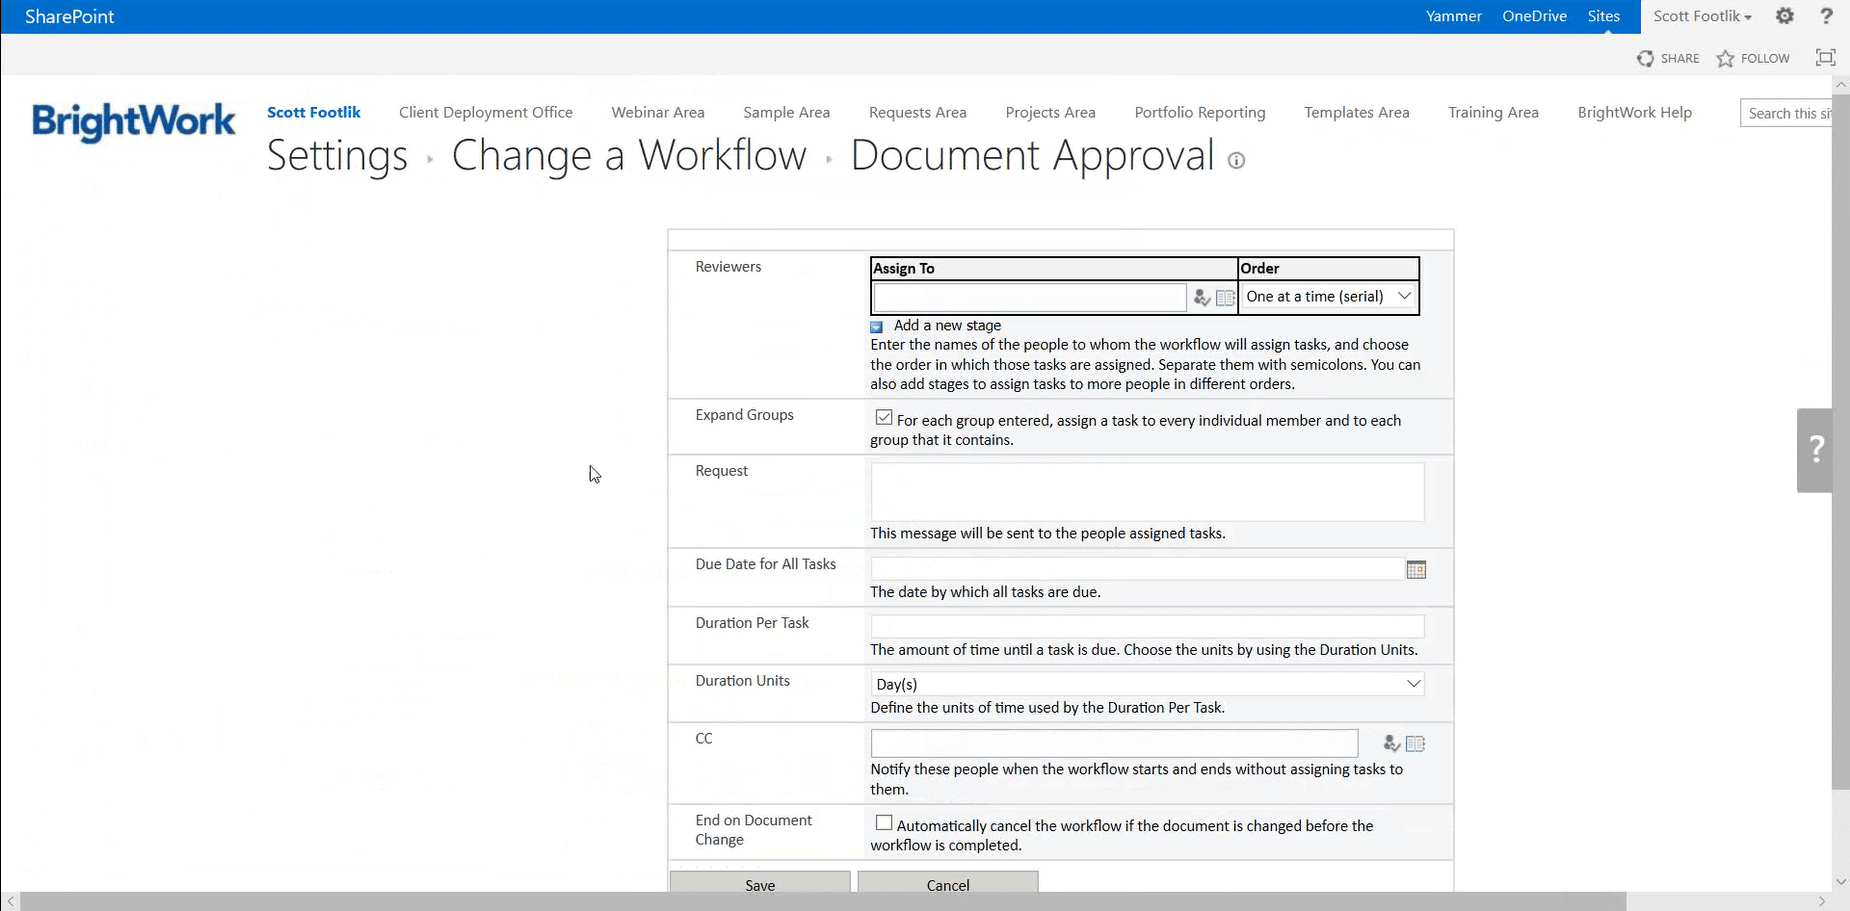
From here you can decide how your workflow is going to run. Will it run serial, sent to one person at a time or parallel, multiple people to review simultaneously?
You can also add a personalised message to the people assigned to tasks and set due dates and duration units.
Once you are happy with the form pre-sets (you can always amend this before executing the workflow manually anyway), click Save and you have created a simple workflow that is ready for use. All without any coding!
You can test your workflow by uploading a document to the document library. After uploading, navigate to Workflows in the ribbon where we will manually start the workflow.
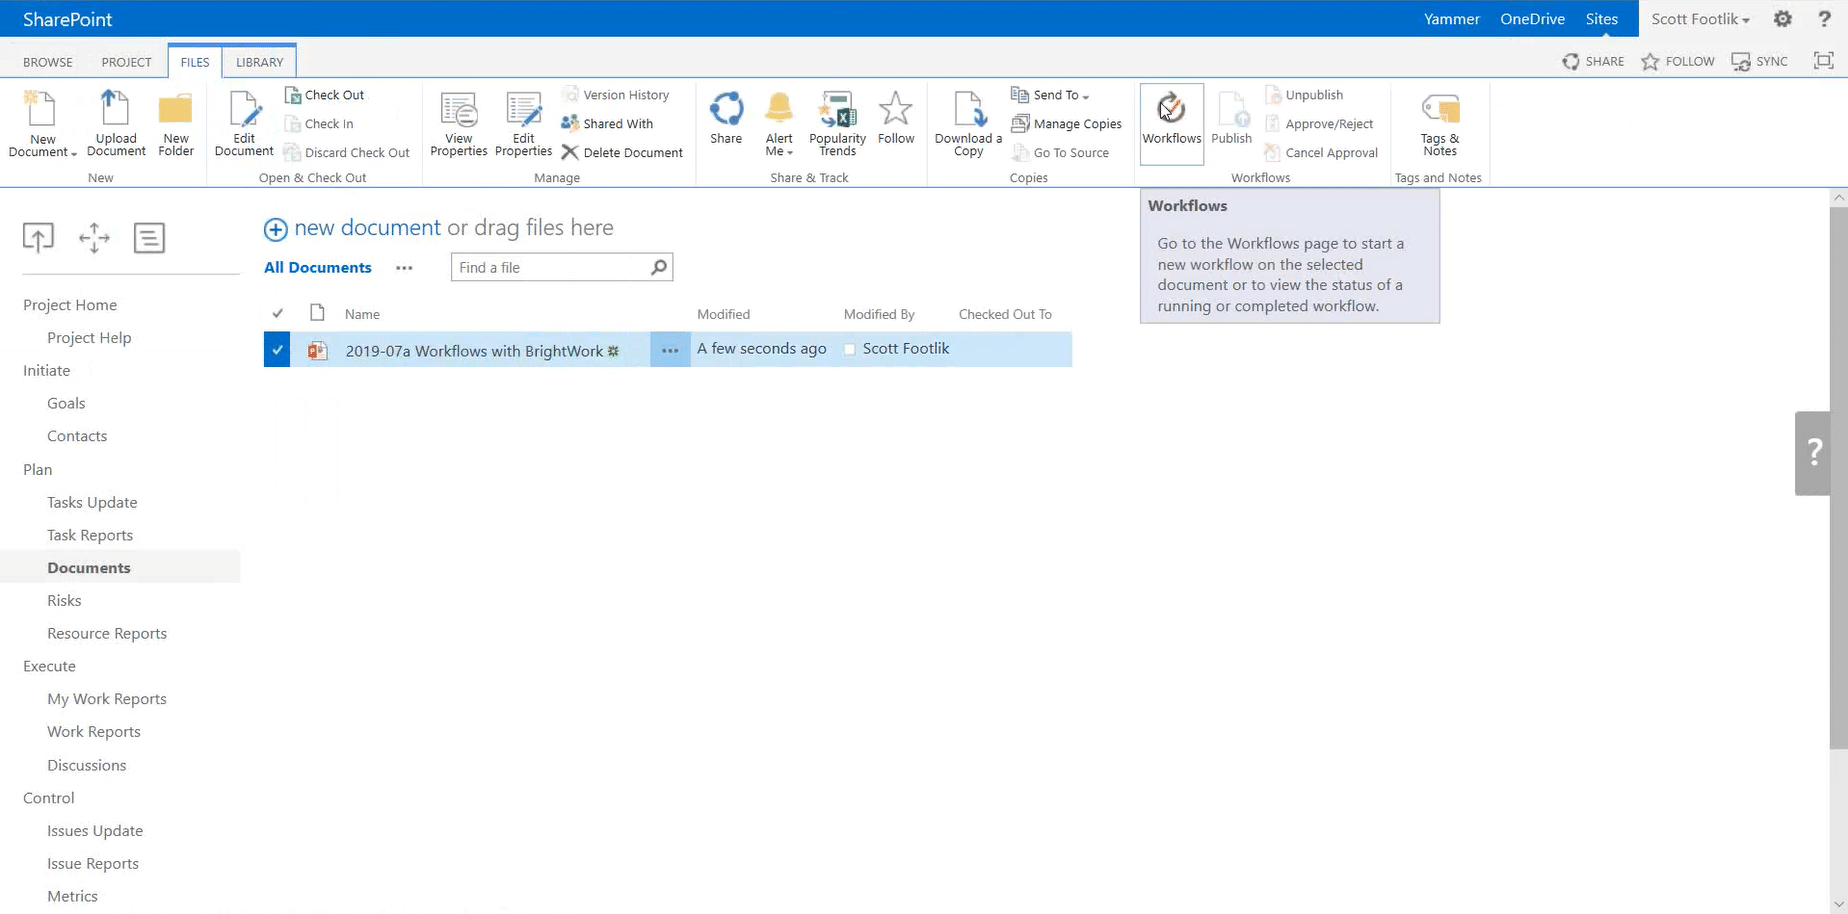
Click on the workflow you just created and you should see the workflow form again (Fig. 2). Assign yourself of others to the reviewers and any other necessary details on the form and click Start.
You (or your assigned reviewers) should then receive an email with links and details on how to approve the document, thus confirming your workflow is running correctly.
Advanced Workflows
Even the most basic workflows can regain valuable hours for your project team. A workflow like the one outlined above enables teams to work within the same set of tools, breaking down silos and enhancing collaboration.
Obviously, the out-of-the-box SharePoint workflows are the tip-of-the-iceberg and you can go even further with SharePoint Designer to create more complex, custom workflows for your organizational needs. These workflows can handle multiple actions at once but take a little bit more skill to create.
You can also take your workflows a step further again by integrating Nintex Workflows into your SharePoint site. Nintex allows you to create complex workflows without code using a point and click interface.
If you are interested in project management on SharePoint, BrightWork offers a free template to get you started in minutes. The Free SharePoint Project Management Template provides a pre-planned project site and visual reports to help project managers plan, track, and manage projects successfully on SharePoint. The template can be used to manage unlimited projects for free, forever.
