In my previous post, we started talk about how to install Windows Server 2013 R2 and Active Directory in preparation for our Microsoft SharePoint 2016 install. We also looked into the hardware and software requirements detailed on the MSDN website. In addition, we also discussed the 180 day trial period of SharePoint 2016. Now that’s done, let’s get started with SQL Server 2014.
SharePoint 2016 Installation Series:
This series of posts will explain exactly how to install SharePoint 2016 on Windows Server 2013
- Install Windows Server 2013 R2, AD and the Pre-reqs
- How to install SQL Server 2014 (this post)
- How to install the SharePoint 2016 prerequisites
- How to configure SharePoint 2016 with the config wizard
- How to create and configure your first Site Collection
Install SQL Server 2014:
We have already seen some prerequisites for Microsoft SQL Server 2014 installation in my previous blog. So, I can say that I have already installed .Net Framework 3.5 features in Windows Server 2012 R2 and added a new service account named sp_admin for installation.
Now, we’ll start the installation of Microsoft SQL Server 2014 R2 step by step.
1. Let’s go to the directory where we have installable files of Microsoft SQL Server 2014 R2.
2. Right click on setup application and choose the “Run as Administrator” command from context menu. SQL SERVER process will be initiated to perform setup.

3. You will be prompted with SQL Server Installation Center window. Multiple options are available in the left panel of the screen. Click on the Installation option, you should be able to see the “New SQL Server Stand-alone installation or add features to an existing installation” option in right panel of the screen. Click on this first option on the screen. 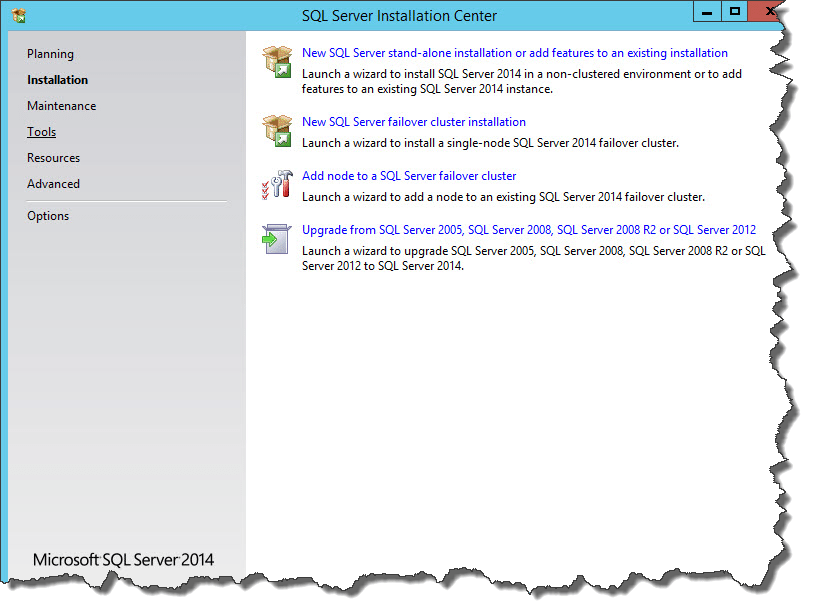
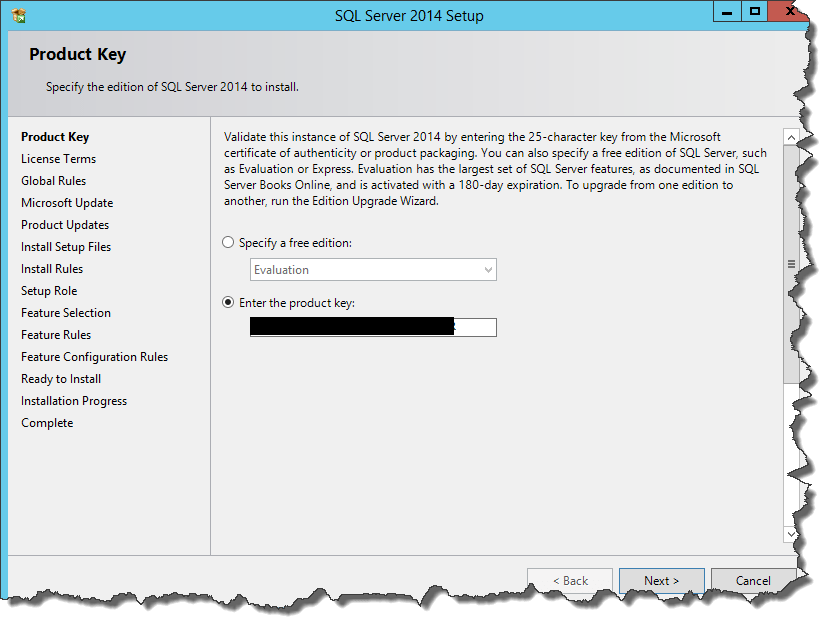
4. A new window “SQL SERVER 2014 Setup” appears on the screen which contains all of the steps required to complete the setup. Firstly, you need to validate the Product Key for your SQL server. Input a valid key in the text box as depicted below and click on the Next button.
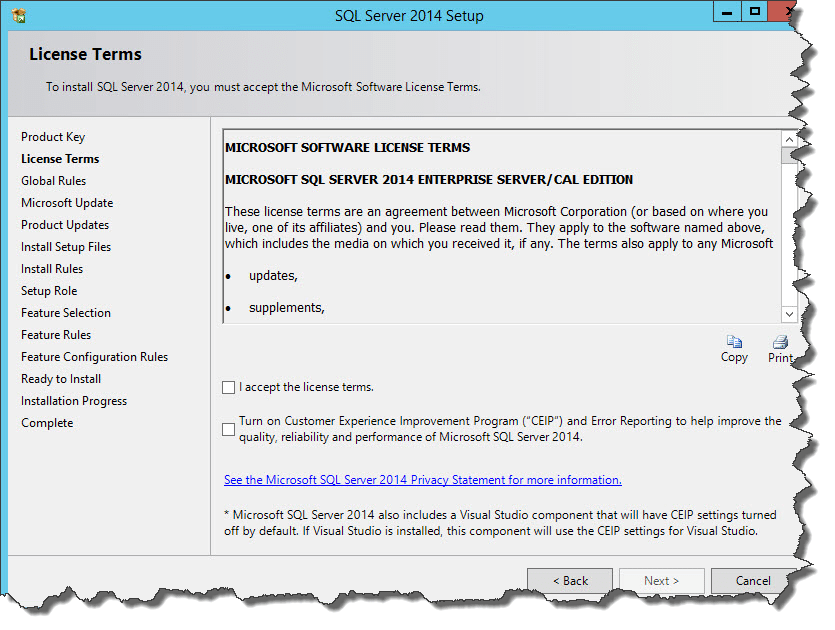
5. In the following License Terms screen, you have to accept the terms and conditions by selecting the checkbox on the screen. You can also select the checkbox for Customer Experience Improvement Program (CIMP) option for reporting errors to Microsoft SQL Server Team if you wish. Click on Next button to continue with the installation.
6. You will be moved on to the “Global Rules” screen. You need to click on the Next button to continue.
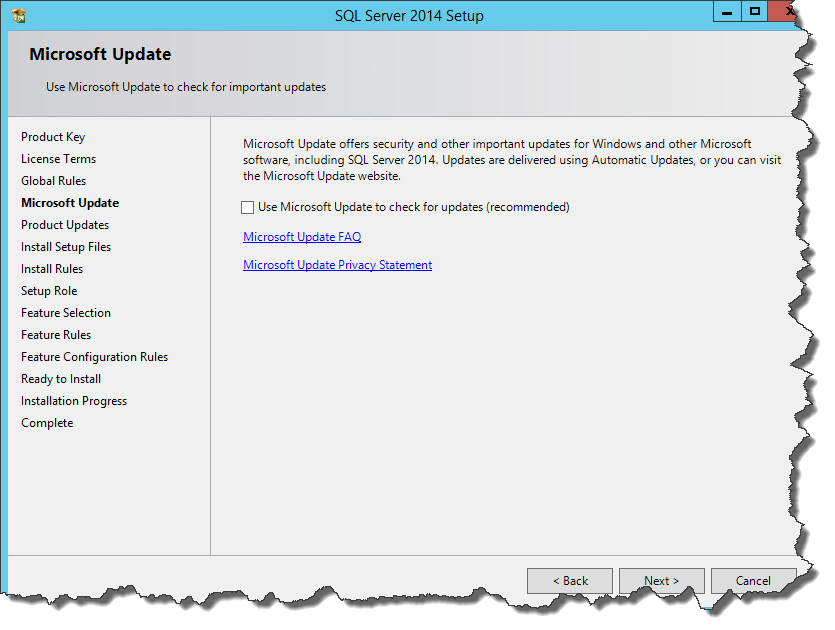
7. On the “Microsoft Update” screen you need to check for updates for SQL Server 2014 by selecting the checkbox. Make sure you have good internet connectivity to download and install the required updates. Click on Next button to move on.
 8. In the following “Product Updates” screen you can see the available product updates if any. Click on Next button to continue
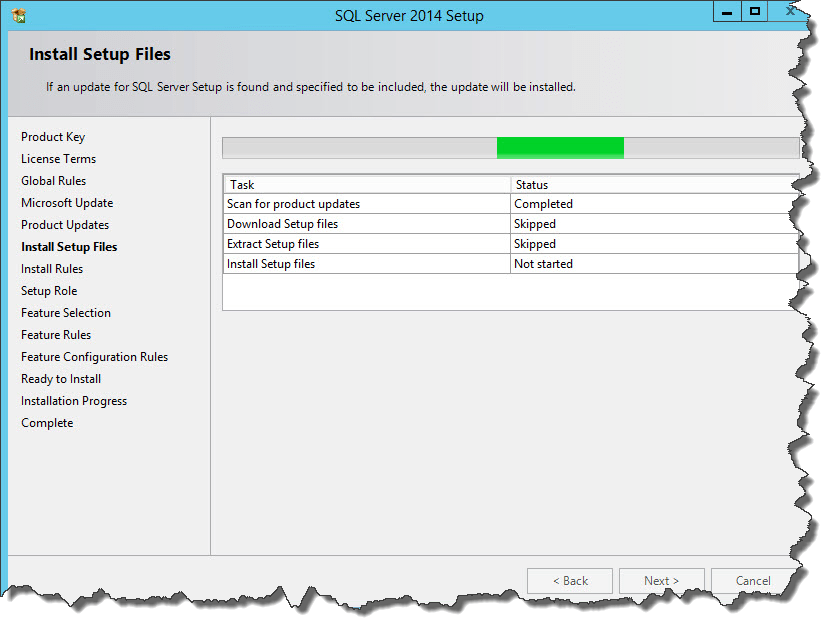
9. On the “Install Setup Files” Screen, you can review the installation progress for downloaded product updates.
10. On the “Install Rules” screen, check for all the rules. If you have warning for any of the rules then it should be fine.

Note – 1. You must add .Net framework 3.5 features in your server roles

Note – 2. If you are installing SQL SERVER after the configuration of the Computer Domain Controller. You must use a Network/services windows account to install a Database Engine for your Database instance.
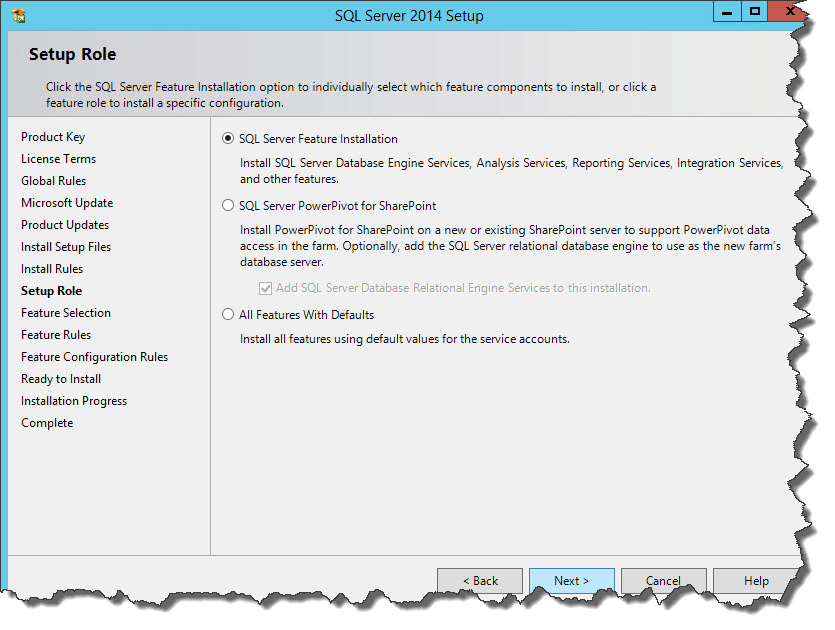
11. On the next “Setup Role” screen we have to select the installation type for the features of the SQL Server. We select “SQL Server Feature Installation” radio button and click on Next Button to continue.
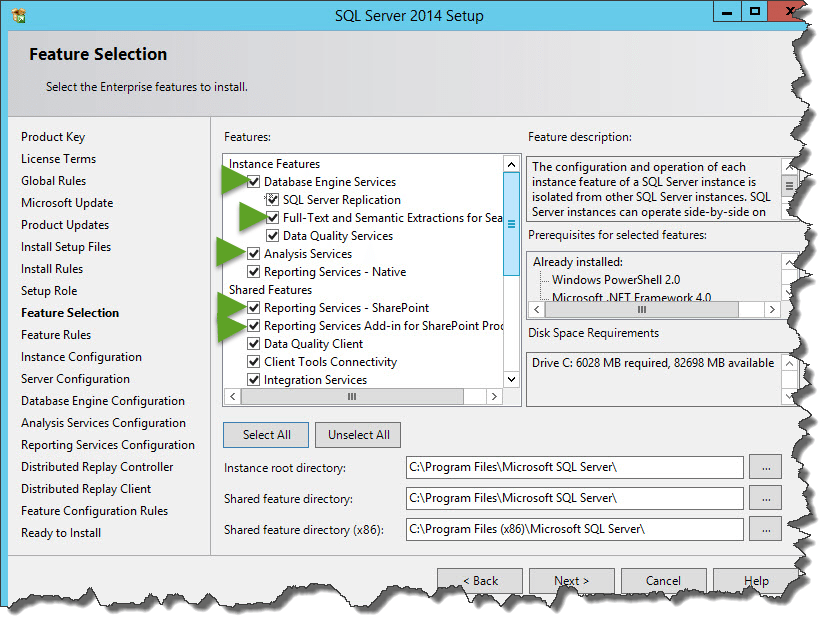
 12. The next screen is “Feature Selection” and you need to select the features that support SQL server management tool and SharePoint in the Shared feature section. You can select all features or just the ones highlighted below.
SQL Server Instances features
- Database Engine Services
- Full-Text and Semantic Extractions for Search
- Analysis Services
- Shared Features
- Reporting Services – SharePoint
- Reporting Services Add-in for SharePoint Products
- SQL Server Data Tools
- Management Tools – Basic
- Management Tools – Complete